Quick Answer+
SSD Cloning Summary: To clone your SSD, use free software like Macrium Reflect Free, Clonezilla, or manufacturer tools (Acronis for Kingston, Samsung Data Migration, Crucial Acronis). Connect your new SSD via USB enclosure or M.2 slot, run the clone, then swap drives and boot. The entire process takes 15-60 minutes depending on data size. Cloning preserves Windows activation, programs, and settings — no reinstallation needed.
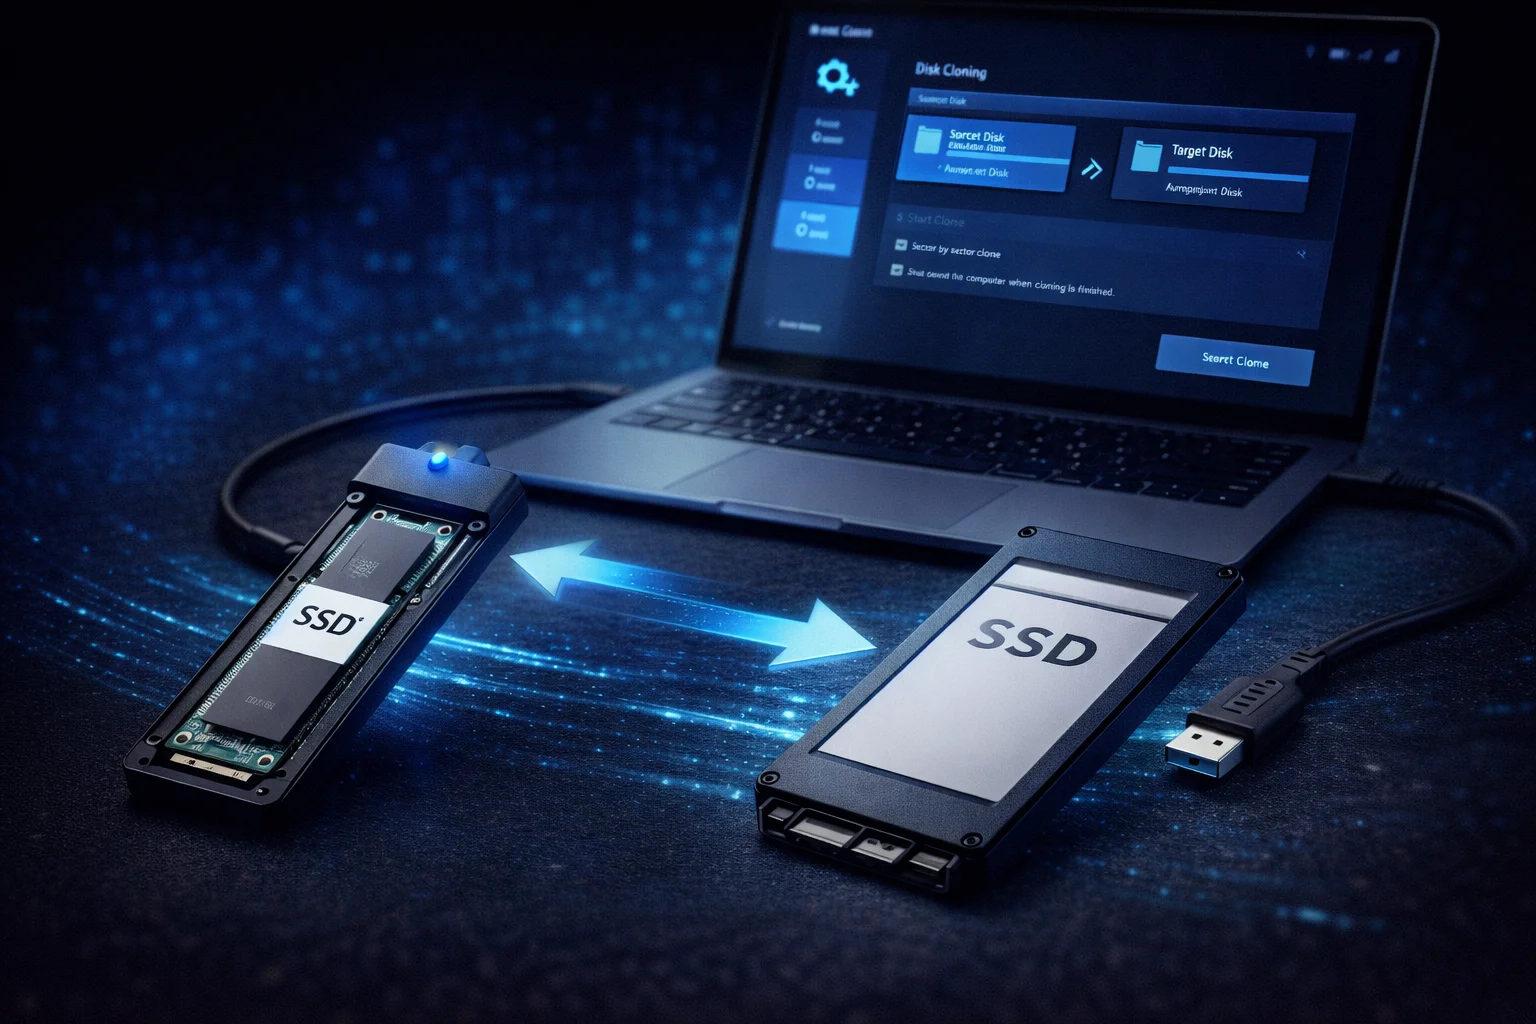
Upgrading to a new SSD doesn’t mean starting from scratch. Cloning copies everything — your operating system, programs, files, and settings — to your new drive. When you swap drives, your computer boots exactly as before, just faster.
This guide covers multiple cloning methods using free software, with step-by-step instructions for the most common scenarios.
What You’ll Need
Hardware Requirements
- New SSD: Equal or larger capacity than used space on current drive
- Connection method: USB-to-SATA adapter, USB-to-NVMe enclosure, or spare M.2 slot
- Screwdriver: For opening your PC/laptop (if installing internally)
Recommended Connection Methods
| New Drive Type | Connection Method | Approx. Cost | Speed |
|---|---|---|---|
| 2.5″ SATA SSD | USB-to-SATA cable/dock | $10-25 | ~400 MB/s |
| M.2 SATA SSD | M.2 SATA enclosure | $15-30 | ~400 MB/s |
| M.2 NVMe SSD | NVMe USB-C enclosure | $25-50 | ~1,000 MB/s |
| Any SSD | Second internal slot | $0 | Full speed |
If your motherboard has a spare M.2 slot or SATA port, connect the new SSD internally for the fastest clone. USB enclosures work but are slower and occasionally cause issues with boot sector copying.
Best Free Cloning Software
| Software | Cost | Ease of Use | Best For |
|---|---|---|---|
| Macrium Reflect Free | Free | Easy | Most users |
| Clonezilla | Free | Advanced | Tech-savvy users |
| Samsung Data Migration | Free | Very Easy | Samsung SSD owners |
| Acronis True Image (OEM) | Free | Easy | Kingston, Crucial, WD owners |
| Crucial Acronis | Free | Easy | Crucial SSD owners |
| Intel Data Migration | Free | Easy | Intel SSD owners |
Method 1: Macrium Reflect Free (Recommended)
Macrium Reflect works with any SSD brand and offers the most reliable cloning experience for free.
Step 1: Download and Install
- Visit macrium.com/reflectfree
- Download Macrium Reflect Free
- Run the installer and follow prompts
- Restart if prompted
Step 2: Connect Your New SSD
- Connect new SSD via USB enclosure or internal slot
- Open Disk Management (Win + X → Disk Management)
- Verify the new drive appears (may show as “Not Initialized”)
- If prompted to initialize, choose GPT for UEFI systems or MBR for legacy BIOS
Step 3: Clone the Drive
- Open Macrium Reflect
- Select your source drive (current SSD with Windows)
- Click “Clone this disk”
- Click “Select a disk to clone to” and choose your new SSD
- Drag partitions to the destination or use “Copy selected partitions”
- If destination is larger, expand the main partition to use all space
- Click Next, then Finish
- Click OK to start the clone
Step 4: Swap Drives and Boot
- Shut down your computer completely
- Physically swap the drives (remove old, install new)
- Power on and enter BIOS (usually Del, F2, or F12 during boot)
- Verify the new SSD is the primary boot device
- Save and exit BIOS
- Windows should boot normally from the new drive
Method 2: Samsung Data Migration (Samsung SSDs Only)
If you purchased a Samsung SSD, their free Data Migration tool is the simplest option.
Steps
- Download Samsung Data Migration from samsung.com/semiconductor/support
- Install and launch the software
- Connect your new Samsung SSD
- The software auto-detects source and target drives
- Click Start to begin cloning
- Swap drives when complete
Limitations: Only works when the destination is a Samsung SSD. Cannot clone to non-Samsung drives.
Method 3: Acronis True Image (Kingston, Crucial, WD)
Several manufacturers offer free Acronis True Image licenses for their SSD customers:
- Kingston:Acronis True Image for Kingston — free at acronis.com/kingston
- Crucial: Acronis True Image for Crucial — free at crucial.com/support
- WD/SanDisk: Acronis True Image WD Edition — free at support.wdc.com
- Seagate: Seagate DiscWizard (Acronis-based) — free at seagate.com
Acronis Cloning Steps
- Download Acronis from your SSD manufacturer’s website
- Install and launch (requires manufacturer’s SSD to be connected)
- Click Tools → Clone Disk
- Select Automatic mode for simple cloning
- Choose source disk (current drive)
- Choose destination disk (new SSD)
- Review summary and click Proceed
- System may reboot to complete the clone
For detailed Kingston instructions, see our Kingston KC3000 Clone Guide.
Method 4: Clonezilla (Advanced Users)
Clonezilla is a free, open-source option that boots from USB and works with any hardware. It’s more complex but extremely powerful.
Steps
- Download Clonezilla Live ISO from clonezilla.org
- Create bootable USB using Rufus or Etcher
- Boot from the USB drive
- Select device-device mode
- Choose disk_to_local_disk
- Select source disk, then destination disk
- Confirm and wait for completion
Best for: Linux users, cloning non-Windows systems, or when other tools fail.
Cloning to a Smaller SSD
You can clone to a smaller SSD if your used data fits on the new drive. For example, cloning a 500GB drive with 200GB used to a 256GB SSD works fine.
Steps for Smaller Drive Cloning
- Clean up: Delete unnecessary files, empty recycle bin, run Disk Cleanup
- Shrink partition: In Disk Management, right-click the main partition → Shrink Volume
- Verify size: Ensure used space is smaller than destination drive capacity
- Clone: Use Macrium Reflect (handles partition resizing automatically)
Troubleshooting Common Issues
Clone Fails or Errors
| Issue | Solution |
|---|---|
| Clone fails at X% | Check source drive health with CrystalDiskInfo; bad sectors may cause failures |
| “Not enough space” | Shrink source partition or delete files; used data must fit on destination |
| Destination not detected | Try different USB port, cable, or enclosure; initialize in Disk Management |
| Clone completes but won’t boot | Check boot order in BIOS; ensure correct boot mode (UEFI vs Legacy) |
| Access denied errors | Run cloning software as Administrator; close all programs using the drive |
New SSD Won’t Boot
- Check BIOS boot order: New SSD must be first boot device
- Verify boot mode: UEFI systems need GPT partitions; Legacy BIOS needs MBR
- Secure Boot: May need to disable temporarily if drive isn’t recognized
- Re-clone: If issues persist, try cloning again with different software
Windows Activation Issues
Cloning typically preserves Windows activation since hardware hasn’t changed. If activation is lost:
- Run the Activation Troubleshooter (Settings → Update & Security → Activation)
- Sign in with your Microsoft account linked to the license
- Contact Microsoft support if issues persist
Clone vs Fresh Install: Which Is Better?
Before cloning, consider whether a fresh Windows installation might be better for your situation:
| Factor | Cloning | Fresh Install |
|---|---|---|
| Time Required | 30-60 minutes | 2-4+ hours |
| Programs | All preserved | Must reinstall |
| Settings | All preserved | Must reconfigure |
| Windows License | Transfers automatically | May need reactivation |
| System “Cruft” | Carries over | Clean slate |
| Potential Issues | May transfer problems | Starts fresh |
| Technical Skill | Moderate | Basic to moderate |
Choose cloning if: Your system runs well, you have many programs to reinstall, or you want minimal downtime.
Choose fresh install if: Your system has issues, you want a clean start, or your Windows installation is very old.
Cloning NVMe to NVMe vs SATA to NVMe
The cloning process is identical regardless of source and destination drive types. However, some considerations apply:
SATA to NVMe Cloning
- Boot mode: May need to change from Legacy BIOS to UEFI in some cases
- Partition style: MBR (SATA) may need conversion to GPT (NVMe) for UEFI boot
- Drivers: Windows may need NVMe drivers; usually automatic in Windows 10/11
- Performance gain: Significant — expect 5-10x faster speeds
NVMe to NVMe Cloning
- Straightforward: No boot mode or partition changes needed
- Speed: Clone completes faster due to higher transfer speeds
- Compatibility: Maximum compatibility with no conversion needed
Post-Clone Optimization
After successfully booting from your new SSD:
1. Verify TRIM is Enabled
Open Command Prompt as Administrator and run:
fsutil behavior query DisableDeleteNotifyResult should be 0 (TRIM enabled).
2. Update SSD Firmware
Use your manufacturer’s tool (Samsung Magician, Crucial Storage Executive, etc.) to check for firmware updates.
3. Extend Partition (If Needed)
If your new drive is larger and the partition didn’t auto-expand:
- Open Disk Management
- Right-click your main partition
- Select Extend Volume
- Follow the wizard to use remaining space
4. Securely Erase Old Drive
Before selling or disposing of your old SSD, perform a secure erase using manufacturer tools or the ATA Secure Erase command. This prevents data recovery.
Best SSDs for Upgrading
Ready to clone? Here are top SSD choices by category:
Best Performance SSDs
| Product | Capacity | Price | $ / TB | Price Drop | Brand | Interface |
|---|---|---|---|---|---|---|
| AOOSTAR WTR PRO AMD Ryzen 7 5825u 4 Bay NAS Mini PC, NO RAM NO SSD, 4K HDMI, 2 * M.2 NVMe Slots, 2.5/3.5 SATAx 4 Storage (Up to 4 * 22TB) | 22.00 TB | $369.00 | $16.77 | +0% | AOOSTAR | NVMe |
| Timetec 2TB M.2 2242 SSD NVMe PCIe Gen3x4 Double Sided Read/Write Speed Up to 2,500/1,700 MB/s Compatible with Tpad E15 / TPad 11e Yoga Gen 6, Laptop and Desktop | 2.00 TB | $209.99 | $105.00 | +0% | Timetec | NVMe |
| TEAMGROUP MP44 4TB SLC Cache Gen4x4 M.2 2280 PCIe 4.0 with NVMe Laptop, Desktop SSD Solid State Drive R/W Speed up to 7000/6000MB/s TM8FPW004T0C101 | 4.00 TB | $420.99 | $105.25 | +0% | TEAMGROUP | NVMe |
| Crucial P3 PCIe Gen3 NVMe 1TB SSD, Up to 3,500MB/s Read, Laptop & Desktop (PC) Compatible, Solid State Drive – CT1000P3SSD8 | 1.00 TB | $109.00 | $109.00 | +0% | Crucial | NVMe |
| ORICO 2TB M.2 NVMe SSD, PCIe Gen3x4 2280 SSD - Up to 3600MB/s, Internal Solid State Drive with TLC NAND Flash, Compatible with Raspberry Pi 5 Desktop Laptop - D10 | 2.00 TB | $219.99 | $110.00 | +0% | ORICO | NVMe |
Best Value SSDs
Frequently Asked Questions
Cloning is faster and preserves everything — programs, settings, files, and licenses. Fresh install is “cleaner” but requires reinstalling all software and reconfiguring settings. For most users, cloning is the better choice. Consider fresh install only if your current system has issues you want to eliminate.
Cloning time depends on data size and connection speed. Via USB 3.0: approximately 20-30 minutes per 100GB. Via internal SATA/NVMe: approximately 5-10 minutes per 100GB. A typical 256GB clone takes 15-45 minutes depending on method.
Yes, absolutely. The process is identical to SSD-to-SSD cloning. This is the most common upgrade path. Your computer will boot much faster and feel significantly more responsive. The used data on your HDD must fit on the destination SSD capacity.
Yes, in most cases. Windows activation is tied to your hardware, not the specific drive. Since cloning doesn’t change your CPU, motherboard, or other hardware, activation typically transfers automatically. Digital licenses linked to Microsoft accounts are especially resilient.
Yes, if your used data fits. For example, a 1TB drive with 300GB used can clone to a 500GB SSD. You may need to shrink the partition first. Macrium Reflect handles this automatically. Delete unnecessary files before cloning if space is tight.
No. Cloning software overwrites everything on the destination drive. You don’t need to format, partition, or initialize the new SSD beforehand — the cloning process handles this automatically. Just connect it and start cloning.
Common fixes: 1) Check BIOS boot order and set new SSD as first. 2) Verify boot mode matches partition style (UEFI needs GPT, Legacy needs MBR). 3) Try disabling Secure Boot temporarily. 4) Re-clone using different software. 5) Ensure all partitions (including EFI) were cloned.
Yes, temporarily. Keep your old drive for at least a few weeks until you’ve verified everything works correctly on the new SSD. After confirming stability, you can securely erase the old drive and repurpose it as secondary storage, sell it, or keep it as a backup.
Related Guides
- Kingston KC3000 Clone Guide — Step-by-step Kingston cloning
- Kingston Acronis True Image — Free cloning software for Kingston
- Kingston SSD Manager vs Acronis — Which tool to use
- How Long Do SSDs Last — SSD lifespan explained
- Best NVMe SSDs 2026 — Top upgrade picks
- Best Budget SSDs — Value options for upgrades
- NVMe vs SATA — Which interface to choose
- SSD vs HDD — Why upgrading matters
Last Updated: February 2026