Synology Photos Setup Guide 2026 | Complete Tutorial for DSM 7
Quick Answer+
Quick Answer: Synology Photos setup takes about 15-30 minutes. Install from Package Center, choose between Personal Space (private) or Shared Space (family), enable facial recognition and subject detection for AI organization, then configure mobile backup to replace Google Photos. For best performance on photo-heavy libraries (50,000+ photos), add RAM and consider SSD cache.
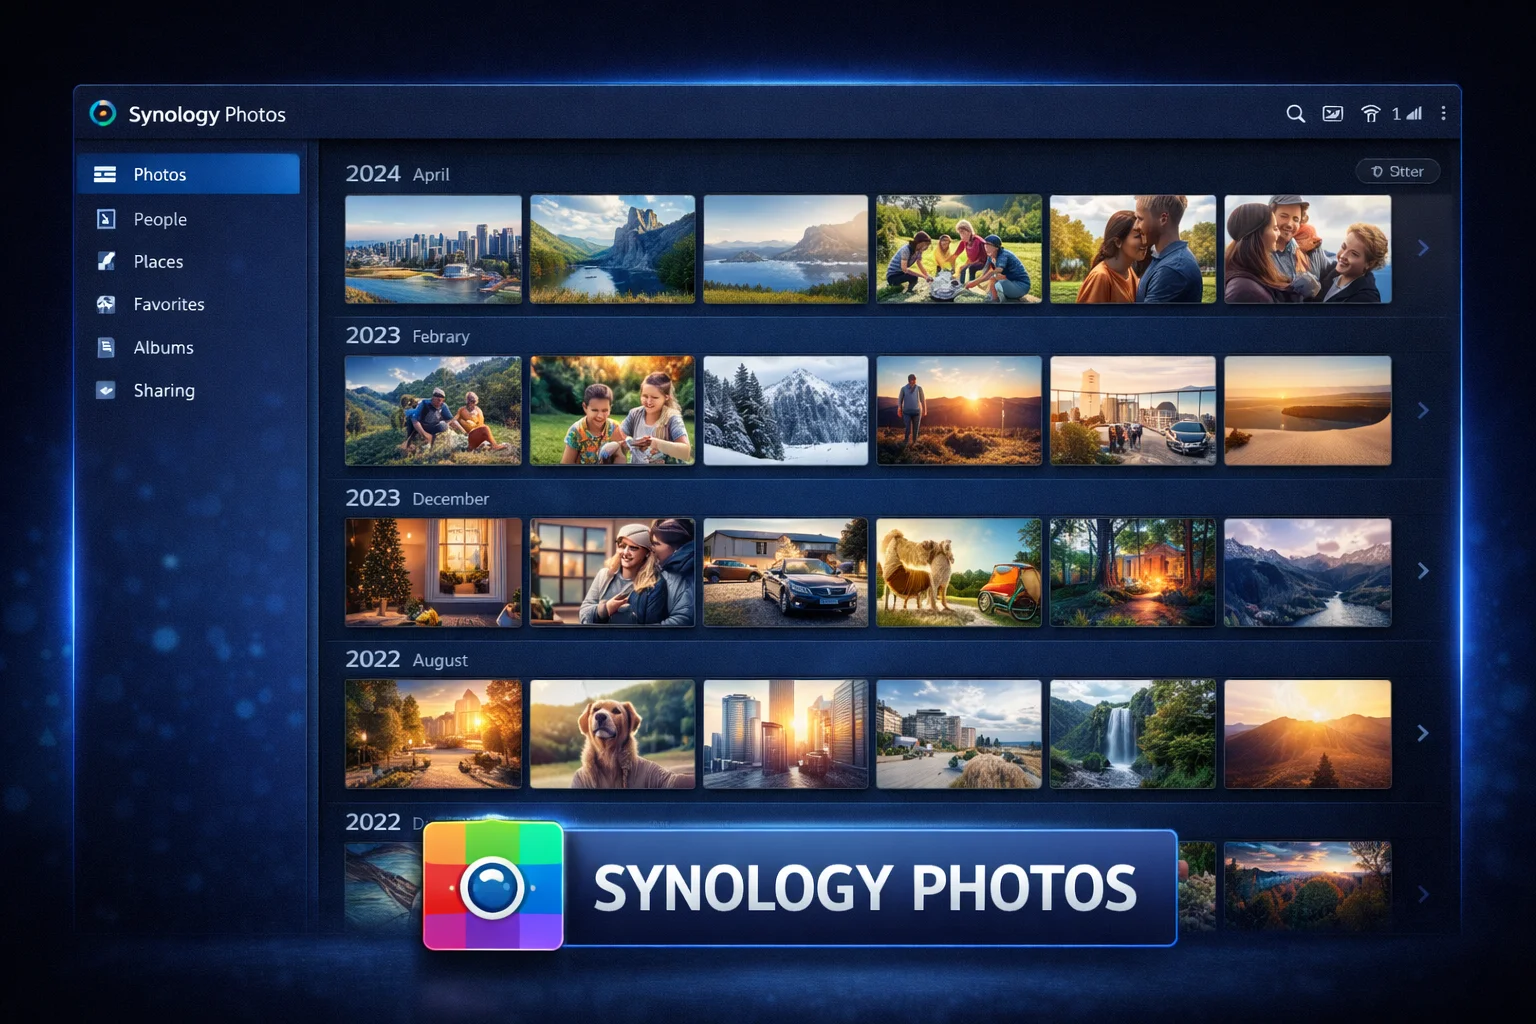
Synology Photos is Synology’s unified photo management solution in DSM 7, combining the best features of the previous Photo Station and Moments apps. It offers Google Photos-like AI organization with the privacy of self-hosted storage—your photos never leave your NAS.
This guide covers complete Synology Photos setup from installation through advanced configuration, including facial recognition, sharing, mobile backup, and performance optimization.
Prerequisites
System Requirements
- DSM Version: DSM 7.0 or later (DSM 7.2+ recommended)
- Compatible NAS: Most Synology models from 2015 onwards
- RAM: 4GB minimum, 8GB+ recommended for large libraries
- Storage: Sufficient space for your photo library plus 10-20% for thumbnails/indexes
Recommended NAS Models
Synology DS224+
2-Bay | Intel Celeron J4125 | 2GB RAM (expandable) | 1GbE
Excellent entry point for personal photo libraries up to 100,000 photos. The Intel Celeron handles facial recognition processing efficiently. Upgrade RAM to 8GB for larger libraries.
Synology DS923+
4-Bay | AMD Ryzen R1600 | 4GB RAM (expandable to 32GB) | 1GbE
Ideal for families with large shared photo libraries. The AMD Ryzen processor accelerates AI indexing, and 4 bays provide room for growth with redundancy.
Step 1: Install Synology Photos
- Log into DSM as administrator
- Open Package Center
- Search for “Synology Photos”
- Click Install
- Accept dependencies (may include Advanced Media Extensions)
- Wait for installation to complete
- Click Open to launch Synology Photos
Note: If prompted to install Advanced Media Extensions, accept it—this package enables HEIC/HEIF support and improved video thumbnails.
Step 2: Understand Personal vs Shared Space
Synology Photos offers two distinct storage spaces:
Personal Space
- Location: /home/[username]/Photos/
- Access: Only the individual user
- Best for: Private photos, individual family members
- Sharing: Can share individual albums with others
Shared Space
- Location: /photo/ shared folder
- Access: All users with permission
- Best for: Family photos, collaborative albums
- Management: Requires admin to enable and configure permissions
Enable Shared Space (Admin Only)
- Open Synology Photos
- Click your profile icon (top right) → Settings
- Navigate to Shared Space tab
- Toggle Enable Shared Space
- Configure user permissions (view, upload, manage)
- Click Save
Step 3: Configure Folder Structure
Synology Photos can display photos in two ways:
Timeline View (Default)
Photos organized chronologically by date taken—similar to Google Photos. Best for browsing memories.
Folder View
Traditional folder structure on your NAS. Best for organized photographers who prefer manual organization.
Recommended Folder Structure
/photo/ (Shared Space) ├── Family Events/ │ ├── 2024-Christmas/ │ ├── 2024-Summer-Vacation/ │ └── 2025-Birthday-Party/ ├── Kids/ │ ├── School-Photos/ │ └── Sports/ └── Archives/ ├── 2020/ ├── 2021/ └── 2022/ /home/username/Photos/ (Personal Space) ├── MobileBackup/ (auto-created by app) ├── Personal/ └── Work/Step 4: Enable AI Features
Facial Recognition
Synology Photos can automatically detect and group faces, making it easy to find photos of specific people.
- Open Synology Photos → Settings
- Navigate to Photos tab
- Enable Enable People album for Personal Space
- For Shared Space, enable Enable People album for Shared Space
- Click Save
Important: Initial facial recognition indexing can take hours or days depending on library size. Run it during off-peak hours.
Subject Detection
Automatically tags photos with detected subjects (dog, beach, food, car, etc.).
- In Settings → Photos tab
- Enable Enable Subject album for Personal Space
- Enable Enable Subject album for Shared Space
- Click Save
Geocoding (Location Tags)
Converts GPS coordinates embedded in photos to readable location names.
- In Settings → Photos tab
- Enable Enable geocoding
- Click Save
Step 5: Set Up Mobile Backup
Replace Google Photos or iCloud with automatic mobile backup to your NAS.
Install Mobile App
- Download Synology Photos from App Store (iOS) or Google Play (Android)
- Open the app and sign in with your Synology account or QuickConnect ID
- Grant photo library access permissions
Configure Photo Backup
- In the app, tap More (bottom right) → Photo Backup
- Toggle Enable photo backup
- Configure backup rules:
- Backup destination: Personal Space or Shared Space
- Backup over: Wi-Fi only (recommended) or Wi-Fi + Cellular
- Include videos: Enable if you want video backup
- Original quality: Keep originals vs compressed
- Live Photos: Include motion component (iOS)
Background Backup (iOS)
For reliable background backup on iOS:
- Go to iOS Settings → Synology Photos
- Enable Background App Refresh
- Enable Location → “Always” (helps trigger background sync)
- Disable Low Power Mode during initial backup
Step 6: Configure Sharing
Share Albums with Family
- Select photos or open an album
- Click Share button
- Choose sharing method:
- Synology Account: Share with other NAS users
- Public Link: Create shareable URL (password optional)
- Add to Shared Space: Move to family-accessible location
Public Link Settings
- Expiration: Set automatic link expiry (1 day to never)
- Password protection: Require password for access
- Allow downloads: Let viewers download originals
- Allow uploads: Let others add photos to shared album
Step 7: Migrate from Google Photos
Export from Google Photos
- Go to takeout.google.com
- Click Deselect all
- Scroll down and select Google Photos
- Click Next step
- Choose delivery method: Send download link via email
- Select .zip format, 50GB file size
- Click Create export
- Wait for email (can take hours/days for large libraries)
Import to Synology Photos
- Download all Google Takeout zip files
- Extract all archives
- Upload extracted folders to your NAS via File Station or SMB
- Place in /photo/ (Shared Space) or /home/username/Photos/ (Personal Space)
- Synology Photos will automatically index new photos
Tip: Google Takeout creates .json metadata files alongside photos. Synology Photos can read EXIF data from the photos themselves but ignores the .json files. Delete them after import to save space.
Performance Optimization
RAM Upgrade
Large photo libraries (50,000+ photos) benefit significantly from additional RAM:
Crucial 8GB DDR4 SODIMM
DDR4-2400 | CL17 | 260-pin SODIMM | Synology Compatible
Affordable RAM upgrade for DS224+, DS423+, and similar models. Doubles available memory for smoother thumbnail generation and facial recognition processing.
Crucial 16GB DDR4 SODIMM
DDR4-3200 | CL22 | 260-pin SODIMM | For DS923+/DS1522+
Maximum RAM upgrade for power users with 100,000+ photos. Essential for smooth operation with facial recognition and subject detection enabled simultaneously.
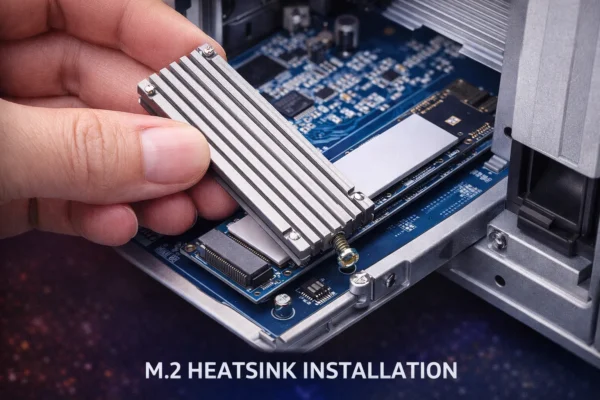
SSD Cache
SSD cache dramatically improves thumbnail loading and browsing responsiveness:
WD Red SN700 500GB
NVMe Gen3 | 3,430 MB/s | 1,000 TBW | 5-Year Warranty
Purpose-built for NAS caching. Accelerates Synology Photos thumbnail loading and facial recognition indexing. Install in your NAS’s M.2 slot for best results.
Frequently Asked Questions
Initial indexing takes roughly 1-2 seconds per photo on modern NAS models. A 50,000 photo library may take 12-24 hours. Indexing runs in the background and doesn’t block normal use.
Yes. Synology Photos works entirely on your local network. You only need internet for remote access via QuickConnect or DDNS. All AI processing happens locally on your NAS.
Synology Photos replaces both Photo Station and Moments in DSM 7. It combines Moments’ AI features with Photo Station’s sharing capabilities. If upgrading from DSM 6, your Moments library migrates automatically.
On Android, yes—background backup is reliable. On iOS, background activity is limited by Apple. Enable location services ‘Always’ and Background App Refresh for best results, but expect some delays compared to Google Photos.
Yes. Create separate DSM user accounts for each family member. Each gets their own Personal Space. Enable Shared Space for photos everyone should access. Each user installs the mobile app with their own credentials.
Conclusion
Synology Photos provides a powerful, private alternative to cloud photo services. With AI-powered organization, automatic mobile backup, and flexible sharing options, it delivers Google Photos-like convenience while keeping your photos under your control.
For best results, enable all AI features (facial recognition, subject detection, geocoding), configure mobile backup on all family devices, and consider RAM/SSD upgrades for libraries exceeding 50,000 photos.
Related Resources
- Best Synology NAS for Home
- Synology Backup Guide
- Synology SSD Cache Setup
- Synology DS224+ Review
- Synology Active Backup Guide
Last Updated: February 2026