Synology NAS Troubleshooting Guide: Fix Common Problems
Quick Answer+
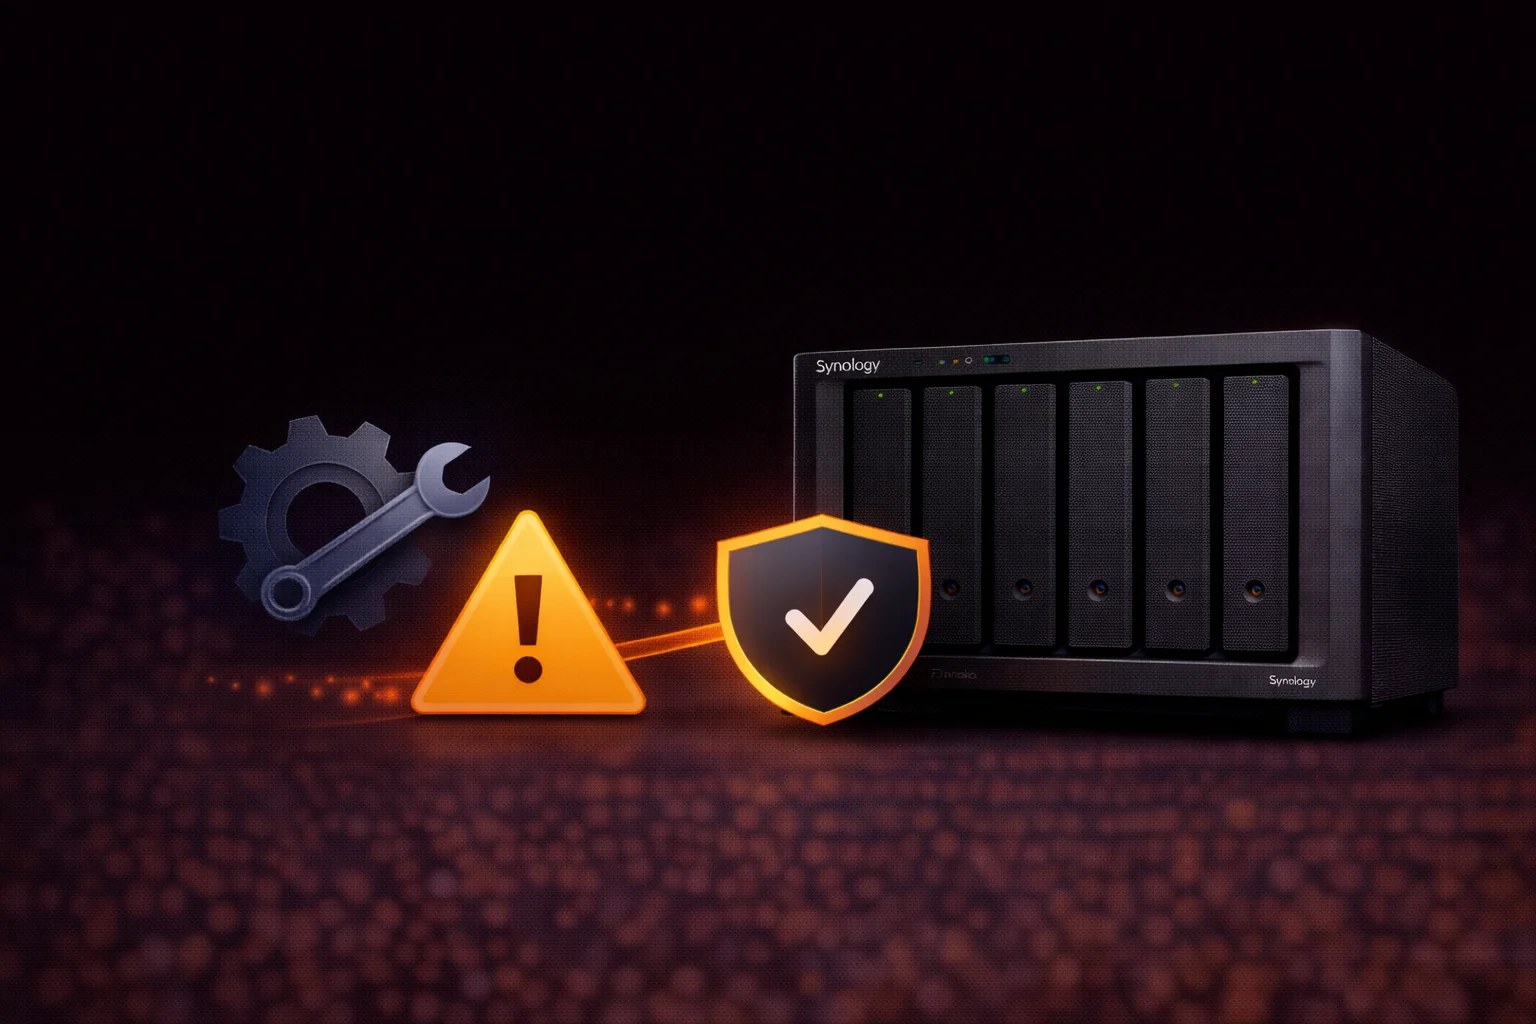
Quick Answer: Most Synology issues fall into a few categories: Slow speeds (check network, enable SMB3, verify drive health), Drive warnings (third-party drives work despite warnings in DSM 7.3+), Access problems (check IP, firewall, QuickConnect), Failed drives (replace and rebuild RAID). This guide covers solutions for the most common Synology NAS problems.
Synology NAS devices are remarkably reliable, but issues do occur. This comprehensive troubleshooting guide covers the most common problems and their solutions — from slow transfer speeds to drive failures to network connectivity issues.
Use the table of contents below to jump to your specific issue.
Slow Transfer Speeds
Slow file transfers are the most common complaint. Here’s how to diagnose and fix them.
Check Your Network Connection
Expected speeds:
- 1GbE: ~110-115 MB/s maximum
- 2.5GbE: ~280-300 MB/s maximum
- 10GbE: ~1,000+ MB/s maximum
Troubleshooting steps:
- Verify cable connections — Use Cat6 or better for reliable gigabit
- Check link speed — Control Panel → Network → Network Interface. Should show 1000 Mbps for gigabit
- Test with Ethernet — WiFi is often the bottleneck, especially 2.4GHz
- Bypass switches — Connect directly to router to rule out switch issues
- Check router ports — Some routers have slower ports
Enable SMB3 for Better Performance
SMB3 offers significantly better performance than older versions:
- Go to Control Panel → File Services → SMB
- Click Advanced Settings
- Set Maximum SMB protocol to SMB3
- Set Minimum SMB protocol to SMB2 (or SMB2 and Large MTU)
- Enable SMB3 multi-channel if you have multiple NICs
- Click Apply
Check Drive Health
Failing drives cause slow performance:
- Go to Storage Manager → HDD/SSD
- Check Health Status for each drive
- Look for Warning or Critical status
- Run S.M.A.R.T. Extended Test on suspect drives
- Check Bad Sector Count — any value above 0 is concerning
Disable Resource-Heavy Services
Background tasks can impact transfer speeds:
- Pause indexing — Synology Drive, Synology Photos indexing
- Check backup schedules — Hyper Backup running during transfers
- Data scrubbing — Storage Manager shows if scrubbing is active
- RAID rebuild — Significantly impacts performance
Small File Performance
Transferring many small files is always slower than large files due to overhead. Solutions:
- Compress files first — ZIP before transfer, extract after
- Add NVMe cache — Dramatically improves small file performance (DS923+, DS723+, DS1522+)
- Use SSDs — In main bays for small file workloads
Drive Compatibility Warnings
Since DSM 7.0, Synology displays warnings for non-Synology drives. Here’s what you need to know:
Understanding the Warnings
DSM may show messages like:
- “Drive not on compatibility list”
- “Unverified drive”
- “Some features may be unavailable”
The reality: Third-party NAS drives (WD Red, IronWolf, Toshiba N300) work perfectly fine. The warnings are about official support, not functionality.
DSM 7.3+ Changes
With DSM 7.3 and later, Synology relaxed restrictions:
- Warnings can be dismissed
- All RAID features work with third-party drives
- Storage pool creation proceeds normally
- Only limitation: NVMe storage pools require Synology SSDs
Recommended Drives
These third-party drives work excellently in Synology NAS:
- WD Red Plus — Best value for most users
- WD Red Pro — 24/7 workloads, larger capacities
- Seagate IronWolf — Excellent all-around NAS drives
- Seagate IronWolf Pro — Heavy workloads
- Toshiba N300 — Good value alternative
See our Synology Compatible Drives Database for complete compatibility information.
Drive Failure & RAID Issues
Degraded RAID/Storage Pool
If a drive fails, your storage pool enters “degraded” status:
- Don’t panic — With RAID 1/5/6/SHR, your data is still safe
- Go to Storage Manager → Storage Pool
- Identify the failed drive
- Order replacement immediately (same or larger capacity)
- Replace the drive (hot-swappable on Plus models)
- Click Repair in Storage Manager
- Select the new drive
- Wait for rebuild (can take 24+ hours for large drives)
Important: Continue using NAS normally during rebuild, but avoid adding another drive until complete.
Crashed Storage Pool
If multiple drives fail beyond RAID tolerance, the pool crashes:
- RAID 5/SHR: Crashed if 2+ drives fail
- RAID 6/SHR-2: Crashed if 3+ drives fail
- RAID 1: Crashed if both drives fail
Recovery options:
- Restore from backup (you have backups, right?)
- Professional data recovery services (expensive, not guaranteed)
- If drives are readable individually, some data may be recoverable
Preventive Measures
- Enable S.M.A.R.T. monitoring — Control Panel → Hardware & Power → HDD/SSD
- Schedule data scrubbing — Storage Manager → Storage Pool → Schedule Data Scrubbing
- Keep spare drive — Identical model for quick replacement
- Use SHR-2 or RAID 6 — For large drives (12TB+) where rebuild times are long
- Replace drives proactively — After 3-5 years or at first sign of issues
Cannot Access NAS
Find Your NAS IP Address
If you can’t access your NAS:
- Visit find.synology.com — Discovers NAS on local network
- Use Synology Assistant — Desktop app for Windows/Mac
- Check router admin panel — Look for connected devices
- Try ping [NAS-name] — From command prompt
NAS Shows Online But Can’t Connect
Troubleshooting steps:
- Clear browser cache — Or try incognito/private window
- Try different browser — Rule out browser-specific issues
- Use IP address directly — http://[IP]:5000 for DSM
- Check firewall — Windows Defender or macOS firewall may block
- Disable VPN — VPNs can interfere with local network access
- Restart NAS — Hold power button 4 seconds, then press to restart
Remote Access Issues
If you can’t access NAS from outside your network:
- QuickConnect not working: Verify QuickConnect is enabled in Control Panel → External Access. Check Synology account is logged in.
- DDNS not resolving: Update DDNS manually in Control Panel → External Access → DDNS. Check if your IP changed.
- Port forwarding issues: Verify port 5000/5001 (DSM), 6690 (Drive) are forwarded in router. Use external port checker tools.
DSM Won’t Boot / Stuck at Boot
Power LED Blinking, No Access
- Wait 10-15 minutes — Initial boot can be slow after updates
- Check drive LEDs — All drives should show green/activity
- Try Synology Assistant — May show NAS in “Configuring” state
- Power cycle — Hold power 10 seconds to force shutdown, then restart
Beeping on Boot
Beep codes indicate specific issues:
- 1 long beep: Boot complete (normal)
- 2 short beeps: Boot complete, error detected
- 4 short beeps: No drives detected or drives not initialized
- 5 short beeps: Degraded storage pool
- Continuous beeping: Fan failure or overheating
Reset Without Data Loss
If DSM is corrupted but data is intact:
- Locate RESET button — Small hole on back of NAS
- Press and hold 4 seconds — Until beep
- This resets network settings and admin password
- Data and DSM remain intact
- Access via find.synology.com to reconfigure
Mode 2 Reset (10 seconds): Reinstalls DSM but keeps data. Only use if Mode 1 fails.
Application-Specific Issues
Synology Drive Not Syncing
- Check connection: Verify green status in Drive Client
- Check sync folder: Ensure folder exists and has proper permissions
- File conflicts: Check “Sync Issues” tab for blocked files
- Restart Drive Client: Quit and reopen application
- Re-link folders: Unlink and re-add sync task
Synology Photos Slow Indexing
- Expected behavior: Initial indexing can take days for large libraries
- Check progress: Synology Photos → Settings → Indexing
- Prioritize: Indexing runs at low priority; may pause during other tasks
- Intel vs AMD: Intel models (DS224+, DS423+) index faster due to Quick Sync
Plex Transcoding Issues
See our complete Synology Plex Setup Guide for detailed troubleshooting, but quick fixes:
- No hardware transcoding: Requires Plex Pass + Intel NAS
- Buffering: Lower streaming quality, check network
- Can’t find media: Check folder permissions for PlexMediaServer user
Performance Optimization Tips
RAM Upgrades
More RAM helps with:
- Multiple simultaneous users
- Docker containers
- Virtual machines
- Large file operations
Check compatible RAM for your model in Synology specifications.
NVMe Cache
For models with M.2 slots (DS923+, DS723+, DS1522+):
- Read cache: Single SSD, improves random reads
- Read-write cache: Two SSDs in RAID 1, improves both
- Best for: Small file workloads, VMs, databases
- Less benefit: Large sequential transfers (video editing)
10GbE Upgrade
For AMD models (DS923+, DS723+, DS1522+), add 10GbE:
- E10G22-T1-Mini: ~$110 upgrade module
- Requires: 10GbE switch and network adapter on computer
- Speeds: 500-1000+ MB/s depending on drives and cache
When to Contact Synology Support
Contact Synology support for:
- Hardware failures under warranty
- Issues persisting after all troubleshooting
- Data recovery assistance
- Firmware/DSM bugs
Before contacting:
- Note your model number and DSM version
- Export system logs (Support Center → Log)
- Document steps you’ve already tried
Frequently Asked Questions
Common causes: (1) Network bottleneck — check cable and switch. (2) SMB version — enable SMB3 in settings. (3) Failing drive — check S.M.A.R.T. status. (4) Background tasks — data scrubbing, indexing, or backup running. (5) Small files — compress before transfer or add NVMe cache.
Yes. Third-party NAS drives (WD Red, Seagate IronWolf) work perfectly despite compatibility warnings in DSM 7.0+. Warnings can be dismissed. All RAID features work. Only NVMe storage pools (not cache) require Synology-branded SSDs.
Don’t panic — with RAID 1/5/6/SHR your data is safe. Order a replacement drive (same or larger capacity). Hot-swap the failed drive. In Storage Manager, click Repair and select the new drive. Wait for rebuild (24+ hours for large drives). Continue using NAS normally during rebuild.
Use the RESET button on back of NAS. Press 4 seconds until beep — this resets network settings and admin password only. Data and DSM remain intact. For deeper reset, hold 10 seconds — this reinstalls DSM but keeps data. Never remove drives to reset.
Check: (1) QuickConnect enabled in Control Panel → External Access. (2) Port forwarding configured (5000/5001 for DSM). (3) DDNS updated if using custom domain. (4) Firewall not blocking ports. (5) ISP not blocking incoming connections (some block port 5000).
Rebuild time depends on drive size and activity: 4TB drive: 8-12 hours, 8TB drive: 16-24 hours, 16TB drive: 36-48+ hours. Heavy NAS usage during rebuild extends time. Don’t add another new drive until rebuild completes. This is why backups matter — a second failure during rebuild means data loss.
Related Resources
- Best Synology NAS 2026 — Complete buying guide
- Synology Backup Guide — Protect your data
- Synology Plex Setup Guide — Media server configuration
- Synology Compatible Drives Database
- Synology RAID Guide — Understanding RAID levels
- RAID Calculator — Plan your storage
Last Updated: February 2026 | Tested on DSM 7.2
