WD My Cloud Setup Guide – Step-by-Step Installation
Quick Answer+
Quick Answer: WD My Cloud setup takes 5-15 minutes depending on model. For My Cloud Home/Home Duo: connect Ethernet cable to router, plug in power, wait for solid white LED (~3 minutes), download the My Cloud Home app on your phone, create a WD account, and follow the wizard. For My Cloud EX2 Ultra: connect Ethernet and power, wait for solid blue LED, then access the web dashboard at http://wdmycloud.local or the device’s IP address to configure RAID, users, and shares. No computer is required for Home models; EX2 Ultra setup benefits from a desktop browser.
Before You Start: What You’ll Need
Before unboxing your WD My Cloud, gather the following items and information to ensure smooth setup.
Required hardware:
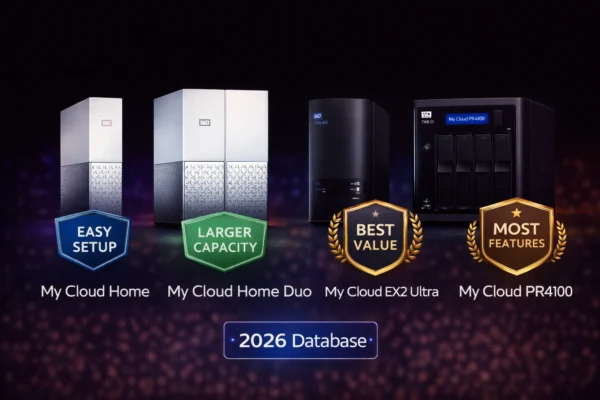
- WD My Cloud device (Home, Home Duo, or EX2 Ultra)
- Ethernet cable (included in box)
- Power adapter (included in box)
- Router or network switch with an available Ethernet port
- Smartphone (iOS or Android) for Home/Home Duo setup
- Computer with web browser for EX2 Ultra setup (optional but recommended)
Required accounts:
- Western Digital account (free — you’ll create one during setup if needed)
- Email address for account verification
Network requirements:
- Working internet connection
- Router with DHCP enabled (standard on most home routers)
- Ideally, Gigabit Ethernet ports for best performance
For diskless EX2 Ultra only:
- One or two compatible 3.5″ SATA hard drives (recommend WD Red Plus or Seagate IronWolf)
My Cloud Home & Home Duo Setup (5-10 Minutes)
My Cloud Home and Home Duo share the same setup process — designed to be as simple as possible with smartphone-guided installation.
Step 1: Physical Connection
Unbox your My Cloud device and locate the Ethernet cable and power adapter. Position the device upright on a flat, stable surface with adequate ventilation — don’t place it in an enclosed cabinet or cover the ventilation slots on the top and bottom.
Connect the Ethernet cable from the back of the My Cloud to an available port on your router or network switch. Use the included cable or any Cat5e/Cat6 Ethernet cable.
Connect the power adapter to the back of the device, then plug it into a power outlet. The device powers on automatically — there’s no power button.
Wait for the LED to turn solid white (approximately 2-3 minutes). During startup, the LED will flash. Once it’s solid white, the device is ready for software setup. If the LED turns red or amber, see the troubleshooting section below.
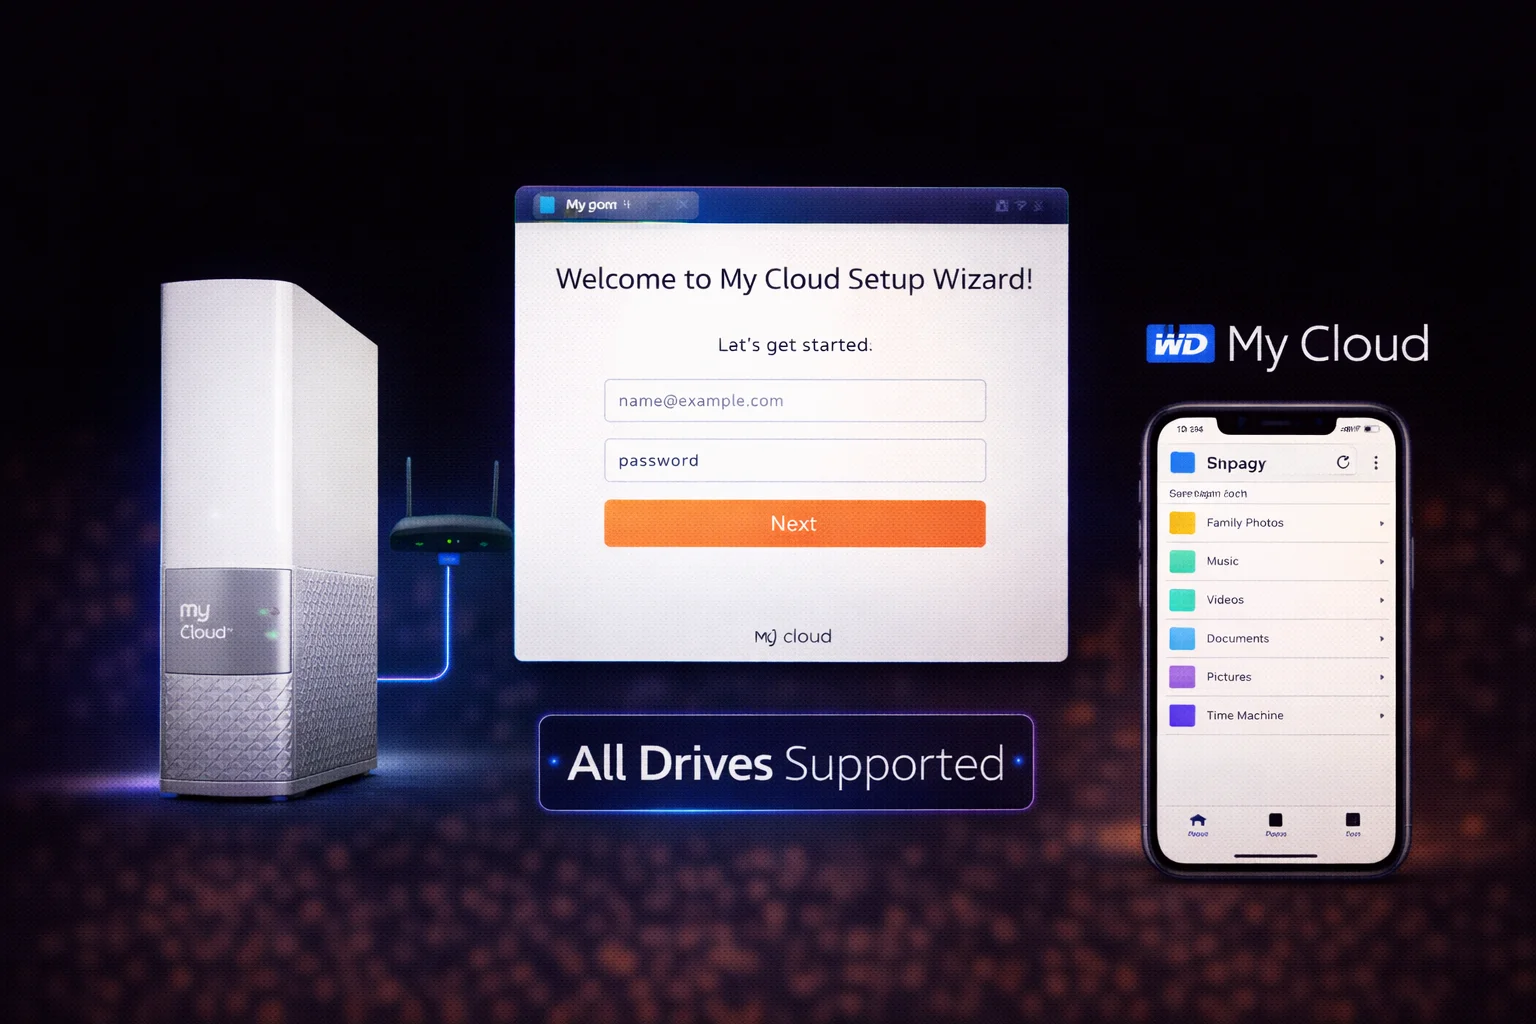
Step 2: Download the My Cloud Home App
On your smartphone, download the My Cloud Home app:
- iPhone/iPad: Search “My Cloud Home” in the App Store
- Android: Search “My Cloud Home” in Google Play Store
Make sure your phone is connected to the same WiFi network that your My Cloud device is connected to via Ethernet. The app needs to discover the device on your local network.
Step 3: Create or Sign Into Your WD Account
Open the My Cloud Home app and either sign into your existing Western Digital account or create a new one. You’ll need to verify your email address — check your inbox for a verification link and click it before continuing.
Your WD account serves as the “Device Owner” account and enables remote access to your files from anywhere. You can invite additional users later, each with their own private storage space.
Step 4: Follow the Setup Wizard
The app will automatically search for My Cloud devices on your network. When it finds your device, tap it to begin setup. Follow the on-screen prompts to:
- Name your device (e.g., “Home Cloud” or “Family Storage”)
- Accept the license agreement and privacy policy
- Enable or skip optional features like automatic phone backup
Setup typically completes in 2-3 minutes. Once finished, you’ll see your device’s dashboard in the app.
Step 5: Configure Automatic Backup (Recommended)
After initial setup, configure automatic backup for your phone’s photos and videos:
- Open the My Cloud Home app
- Tap the menu icon (three lines) and select Settings
- Tap Auto Backup
- Enable backup for Photos, Videos, or both
- Choose whether to backup over WiFi only or include cellular data
The app will begin backing up your camera roll. Initial backup may take several hours depending on how many photos you have and your network speed.
My Cloud EX2 Ultra Setup (10-15 Minutes)
The EX2 Ultra offers more configuration options than Home models, requiring web dashboard access for initial setup. If you purchased the diskless model, you’ll also need to install drives first.
Step 1: Install Drives (Diskless Model Only)
If your EX2 Ultra came without drives, install them before powering on:
- Press the thumb indentation on top of the device to release the top panel
- Open the panel on its hinge to reveal the drive bays
- Slide each 3.5″ SATA drive into a bay, ensuring the SATA connectors align properly
- Secure each drive with the included tool-less mounting bracket
- Close the top panel until it clicks into place
Recommended drives: WD Red Plus for standard NAS use, WD Red Pro for heavier workloads, or Seagate IronWolf as an alternative. Avoid desktop drives like WD Blue — they’re not designed for 24/7 NAS operation.
Step 2: Physical Connection
Connect the Ethernet cable from the back of the EX2 Ultra to your router or network switch. Connect the power adapter and plug it in. The device powers on automatically.
Wait for the LED to turn solid blue (approximately 3-5 minutes). During initial startup with new drives, the device may take longer as it prepares the storage. If the LED flashes continuously for more than 10 minutes, check drive installation.
Step 3: Access the Web Dashboard
Open a web browser on any computer connected to the same network and try one of these addresses:
http://wdmycloudex2ultraorhttp://wdmycloudex2ultra.local- The device’s IP address (check your router’s admin page for connected devices)
- Visit
http://mycloud.com/helloto use WD’s device finder
The first time you access the dashboard, you’ll be guided through initial setup.
Step 4: Configure RAID Mode
If you installed two drives, choose your RAID configuration:
RAID 1 (Mirror) — Recommended for most users: Both drives contain identical data. If one drive fails, your data survives on the other. Usable capacity equals one drive’s capacity (two 8TB drives = 8TB usable).
RAID 0 (Stripe): Data is split across both drives for faster performance. If either drive fails, all data is lost. Usable capacity equals both drives combined (two 8TB drives = 16TB usable). Not recommended unless you have separate backups.
JBOD (Just a Bunch of Disks): Each drive appears as a separate volume. No redundancy, but drives are independent — one failing doesn’t affect the other.
Spanning: Both drives combine into a single large volume with no redundancy. Similar risk to RAID 0.
Step 5: Create User Accounts
Create at least one user account with a strong password. The default “admin” account has no password — set one immediately for security:
- Navigate to Users in the dashboard
- Click the admin user and set a password
- Create additional users as needed (family members, coworkers)
- Assign permissions to control access to shares
Step 6: Enable Remote Access (Optional)
To access your files from outside your home network:
- Navigate to Settings > General > Cloud Access
- Toggle Cloud Access to On
- Create or sign into your WD account
- Download the My Cloud OS 5 app on your phone for mobile access
Step 7: Install Plex Media Server (Optional)
If you want to use your EX2 Ultra as a media server:
- Navigate to Apps in the dashboard
- Find Plex Media Server and click Install
- Once installed, click Configure to open Plex setup
- Create or sign into your Plex account
- Add media libraries pointing to folders on your My Cloud
See our dedicated WD My Cloud Plex setup guide for detailed instructions.
After Setup: Essential Configuration
Update Firmware
Always update to the latest firmware after initial setup. Firmware updates include security patches and bug fixes:
- My Cloud Home: Updates install automatically. Check Settings > About in the app to verify you’re current.
- EX2 Ultra: Dashboard > Settings > Firmware. Click “Check for Updates” and install if available.
Set Up Computer Backup
Windows PC: Use WD Discovery software (download from WD’s website) or map the network drive and configure File History or third-party backup software.
Mac: Configure Time Machine to backup to your My Cloud. See our Mac setup guide for detailed instructions.
Invite Additional Users
For family members or coworkers who need access:
- My Cloud Home: App > Settings > Users > Invite User. Each user gets their own private space.
- EX2 Ultra: Dashboard > Users > Add User. Assign specific share permissions.
Configure Cloud Service Sync (Optional)
My Cloud can sync with Dropbox, Google Drive, and OneDrive:
- My Cloud Home: App > Do More > Import Content > Select cloud service
- EX2 Ultra: Dashboard > Backup > Cloud Backup > Configure
Setup Troubleshooting
Device Not Found During Setup
If the app or device finder can’t locate your My Cloud:
- Verify the Ethernet cable is securely connected to both the device and router
- Confirm the LED is solid (white for Home, blue for EX2 Ultra) — not flashing
- Ensure your phone/computer is on the same network (same WiFi as the router’s Ethernet)
- Try restarting your router
- Temporarily disable firewall or security software that might block device discovery
- Check your router’s admin page to confirm the My Cloud received an IP address
LED Color Meanings
My Cloud Home/Home Duo:
- Solid white: Ready and connected
- Blinking white: Starting up or processing
- Solid yellow: Standby/sleep mode
- Blinking yellow: Firmware update in progress
- Solid red: Error — check power and network connections
My Cloud EX2 Ultra:
- Solid blue: Ready and connected
- Blinking blue: Network activity
- Solid red: Drive error or system fault
- Blinking red: Drive failure — check dashboard for details
Can’t Access Dashboard (EX2 Ultra)
If http://wdmycloudex2ultra doesn’t work:
- Try adding
.localto the address:http://wdmycloudex2ultra.local - Find the device’s IP address in your router’s admin page and use that directly
- Use WD’s device finder at
http://mycloud.com/hello - If using Windows, see our Windows connection guide for network discovery settings
Setup Wizard Freezes or Errors
If setup doesn’t complete:
- Ensure stable internet connection throughout setup
- Try a different browser (Chrome, Firefox, Edge)
- Disable browser ad blockers temporarily
- Factory reset the device and try again: hold the reset button on the back for 4-5 seconds
Frequently Asked Questions
For My Cloud Home and Home Duo: No. Setup is done entirely through the smartphone app. For My Cloud EX2 Ultra: While technically possible via the mobile app, a computer with a web browser makes configuration easier, especially for RAID setup, user permissions, and advanced settings.
No, My Cloud devices require Ethernet connection. The device must be connected via Ethernet cable to your router or network switch. There’s no WiFi adapter. This is intentional — Ethernet provides faster, more reliable data transfer essential for a storage device. Your phone/computer can connect via WiFi to access the My Cloud after setup.
5-15 minutes for basic setup. My Cloud Home typically completes in 5-10 minutes. EX2 Ultra takes 10-15 minutes including RAID configuration. Note that initial indexing of large media libraries and first backups can take hours or even days — but you can use the device immediately while these processes run in the background.
RAID 1 (Mirror) for most users. It provides data protection — if one drive fails, your data survives. The tradeoff is usable capacity equals only one drive. Choose RAID 0 only if you need maximum space AND have separate backups elsewhere, as RAID 0 loses all data if either drive fails.
Initial setup requires internet. After setup, My Cloud EX2 Ultra works locally without internet for basic file access. My Cloud Home devices are more dependent on WD’s servers — some features may not work without internet. Remote access from outside your home always requires internet on both ends.
Related Guides
- WD My Cloud Overview
- Fix Slow Speeds
- Troubleshooting Guide
- Plex Setup
- Windows Setup
- Mac Setup
- WD Red Plus Drives
- NAS Drives
Last updated: February 2026. Complete setup guide for WD My Cloud Home, Home Duo, and EX2 Ultra.