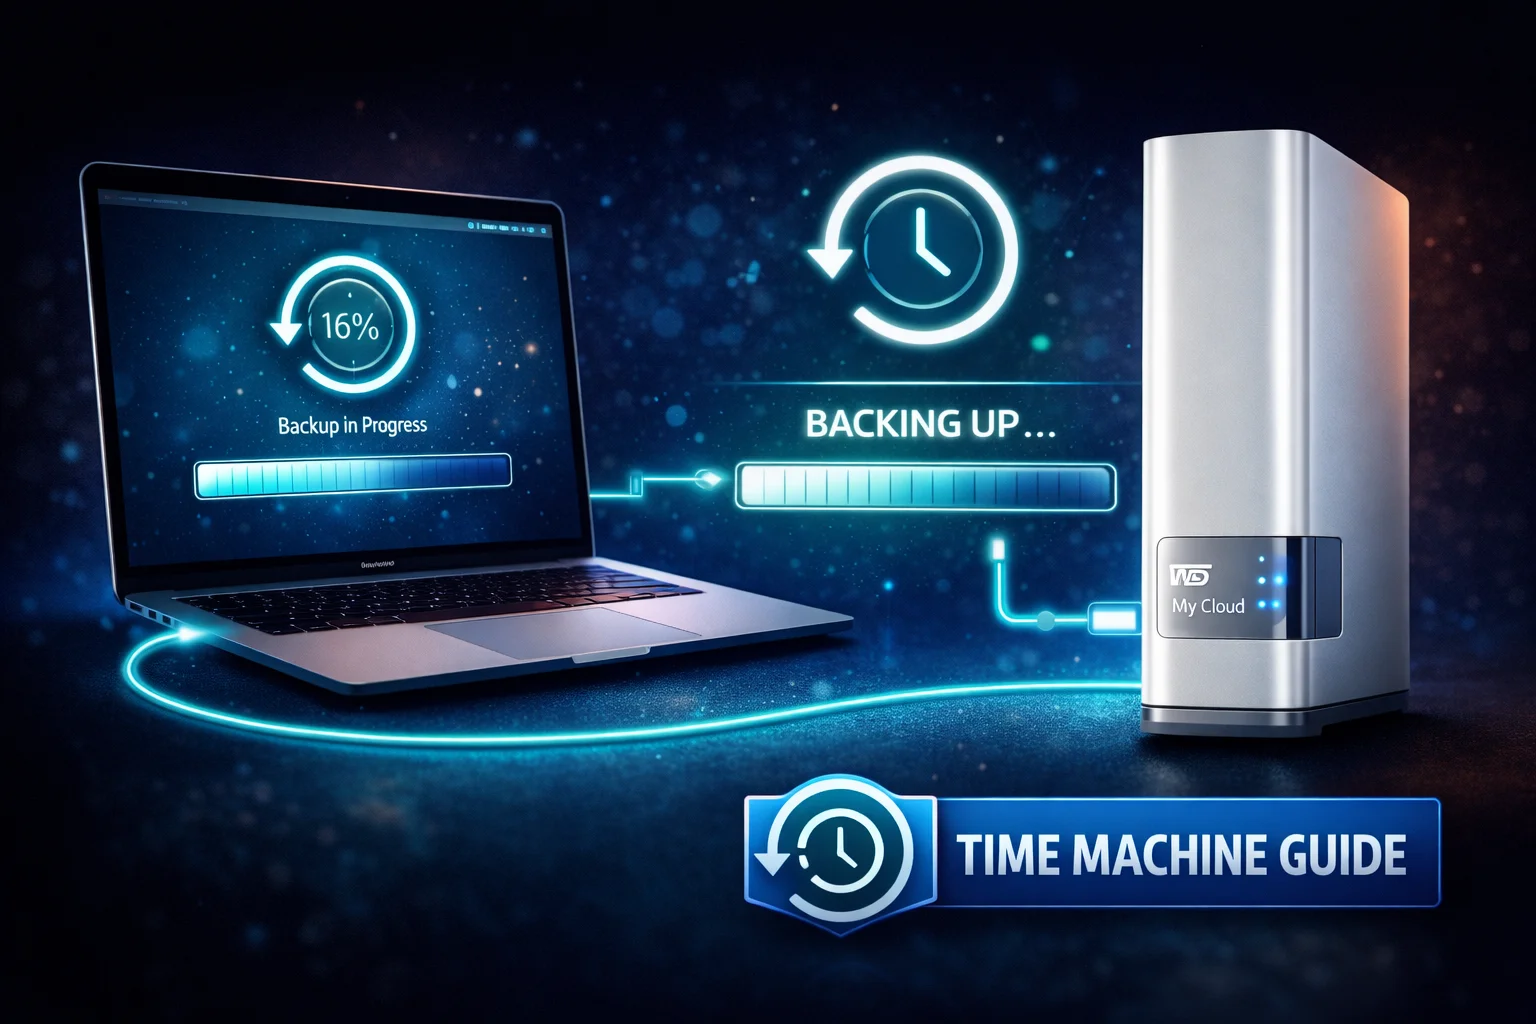
How to Use WD My Cloud with Time Machine (Mac Backup Guide)
Time Machine is Apple’s built-in backup solution, and your WD My Cloud can serve as a network backup destination. This means automatic, hourly backups of your Mac without plugging in any cables. This guide covers setup for all WD My Cloud models, troubleshooting common issues, and best practices for reliable Mac backups.
Time Machine Compatibility by Model
| Model | Time Machine Support | Notes |
|---|---|---|
| My Cloud Home | ❌ Not Supported | No Time Machine, use mobile app backup |
| My Cloud Home Duo | ❌ Not Supported | No Time Machine, use mobile app backup |
| My Cloud EX2 Ultra | ✅ Full Support | Recommended |
| My Cloud PR2100 | ✅ Full Support | Recommended |
| My Cloud PR4100 | ✅ Full Support | Recommended |
| My Cloud EX4100 | ✅ Full Support | Recommended |
| My Cloud Mirror | ✅ Full Support | Legacy model |
Important: My Cloud Home and Home Duo do NOT support Time Machine. If you have these models and need Time Machine, you’ll need to upgrade to an EX2 Ultra or PR series device.
Part 1: Enable Time Machine on Your WD My Cloud
Before your Mac can use the My Cloud for Time Machine, you need to enable the feature on the NAS.
Step 1: Access the Dashboard
- Open a web browser on your Mac
- Enter your My Cloud’s IP address (e.g.,
http://192.168.1.100) - Or type the device name:
http://wdmycloudex2ultra - Log in with your admin credentials
Step 2: Enable Time Machine Service
For My Cloud OS 5 (EX2 Ultra, PR series):
- Navigate to Settings (gear icon)
- Select General
- Scroll to Mac Backups section
- Toggle Time Machine to ON
- Click Save or Apply
For My Cloud OS 3 (Legacy):
- Go to Settings → General
- Find Mac Backup (Time Machine)
- Toggle to ON
- Save changes
Step 3: Create a Dedicated Time Machine Share (Recommended)
While you can use any share for Time Machine, creating a dedicated share with a quota prevents Time Machine from consuming all your storage.
- In the dashboard, go to Shares
- Click Create Share or Add
- Configure:
- Name: TimeMachine (or your Mac’s name)
- Description: Mac backup
- Quota: Set a limit (see sizing below)
- Enable Time Machine Backup for this share
- Set permissions for your user account
- Click Save
Time Machine Share Sizing Guide
Time Machine keeps hourly backups for 24 hours, daily backups for a month, and weekly backups until the disk is full. Set your quota based on your Mac’s storage:
| Mac Storage | Minimum Quota | Recommended Quota |
|---|---|---|
| 256GB | 500GB | 750GB – 1TB |
| 512GB | 1TB | 1.5TB – 2TB |
| 1TB | 2TB | 3TB – 4TB |
| 2TB | 4TB | 6TB – 8TB |
The recommended quota is 2-4x your Mac’s storage, which allows keeping several months of backup history.
Part 2: Configure Time Machine on Your Mac
Now configure your Mac to use the My Cloud for backups.
macOS Ventura and Later (macOS 13+)
- Click the Apple menu → System Settings
- Click General in the sidebar
- Click Time Machine
- Click Add Backup Disk or the + button
- Select your WD My Cloud from the list
- If prompted, enter your My Cloud username and password
- Choose whether to Encrypt Backups (recommended)
- Click Set Up Disk or Use Disk
macOS Monterey and Earlier (macOS 12 and below)
- Click the Apple menu → System Preferences
- Click Time Machine
- Click Select Backup Disk
- Select your WD My Cloud share from the list
- Check Encrypt backups (recommended)
- Click Use Disk
- Enter your My Cloud credentials when prompted
- Click Connect
If Your My Cloud Doesn’t Appear
If the NAS isn’t showing in the Time Machine disk list:
- Open Finder
- Press Command + K (Connect to Server)
- Enter:
smb://192.168.1.100(use your My Cloud’s IP) - Click Connect
- Enter credentials and mount the share
- Return to Time Machine settings — it should now appear
Part 3: First Backup
After configuration, Time Machine starts the first backup automatically. This initial backup takes significantly longer than subsequent backups.
What to Expect
| Mac Data Size | Estimated First Backup Time |
|---|---|
| 100GB | 2-4 hours |
| 250GB | 4-8 hours |
| 500GB | 8-16 hours |
| 1TB | 16-32 hours |
Times vary based on network speed (Gigabit Ethernet is much faster than Wi-Fi), NAS write speed, and how many files you have (more small files = slower).
Speed Up Your First Backup
- Use Ethernet: Wired connection is 3-10x faster than Wi-Fi
- Keep Mac awake: Prevent sleep during backup (System Settings → Energy)
- Close applications: Reduces file changes during backup
- Run overnight: Start the backup before bed
- Exclude large, replaceable files: VMs, app caches (see exclusions below)
Monitoring Backup Progress
- Click the Time Machine icon in the menu bar
- View progress in System Settings → Time Machine
- Open the Console app and filter for “backupd” for detailed logs
Part 4: Configure Time Machine Options
Exclude Folders from Backup
Some files don’t need backup — they waste space and slow down backups:
- Open Time Machine settings
- Click Options
- Click + to add exclusions
- Select folders to exclude
- Click Save
Recommended Exclusions:
- Virtual machines — ~/Virtual Machines, ~/Parallels
- Node modules — Any node_modules folders (huge, easily recreated)
- iOS device backups — ~/Library/Application Support/MobileSync (if using iCloud)
- Cache folders — ~/Library/Caches
- Downloads folder — If you don’t need to backup downloads
- Trash — Automatically excluded
Enable Menu Bar Icon
Keep the Time Machine icon visible for quick access:
- Open Time Machine settings
- Check Show Time Machine in menu bar
From the menu bar icon, you can:
- See backup status and next scheduled backup
- Start a backup manually (Back Up Now)
- Enter Time Machine to browse/restore files
- Skip current backup
Part 5: Restoring Files
Restore Individual Files
- Click the Time Machine icon in the menu bar
- Select Browse Time Machine Backups (or Enter Time Machine)
- Navigate to the folder containing the file you need
- Use the timeline on the right to go back in time
- Select the file(s) you want to restore
- Click Restore
The file restores to its original location. If a file with that name exists, you’ll be asked whether to keep both, replace, or skip.
Restore Entire Mac (Disaster Recovery)
If your Mac’s drive fails or you’re setting up a new Mac:
- Start your Mac in Recovery Mode:
- Intel Mac: Hold Command + R during startup
- Apple Silicon: Hold power button until “Loading startup options” appears, then click Options
- Connect to your Wi-Fi network
- Select Restore from Time Machine Backup
- Click Continue
- Select your WD My Cloud as the backup source
- Enter your My Cloud credentials
- Choose which backup date to restore
- Select destination drive
- Wait for restore to complete (several hours)
Migration Assistant from Time Machine
When setting up a new Mac, use Migration Assistant to transfer from your Time Machine backup:
- During new Mac setup, choose From a Mac, Time Machine backup, or Startup disk
- Select From a Time Machine Backup
- Select your WD My Cloud
- Choose what to transfer (applications, files, settings)
- Complete the migration
Troubleshooting Common Issues
Problem: “Time Machine couldn’t complete the backup”
Causes and solutions:
- Network disconnection: Ensure stable Wi-Fi or use Ethernet
- NAS went to sleep: Disable sleep on My Cloud or wake before backup
- Share permissions: Verify your user has read/write access to the Time Machine share
- Quota exceeded: Increase the share quota or delete old backups
- Corrupted backup: Start fresh with a new backup (see below)
Problem: Backups Are Extremely Slow
Solutions:
- Use Ethernet: Wi-Fi 5 (802.11ac) maxes around 400 Mbps real-world; Gigabit Ethernet provides 900+ Mbps
- Check network congestion: Other devices streaming can slow backup
- NAS performance: If the My Cloud is indexing or running other tasks, backup slows
- Exclude large changing files: Virtual machines cause massive incremental backups
- SMB version: Ensure SMB3 is enabled on the NAS (faster than SMB1/2)
Problem: WD My Cloud Not Appearing as Backup Disk
Solutions:
- Verify Time Machine is enabled on the My Cloud dashboard
- Ensure Mac and NAS are on the same network/subnet
- Manually connect via Finder first (Command + K → smb://IP)
- Restart both Mac and My Cloud
- Check firewall settings on your Mac (System Settings → Network → Firewall)
Problem: “The backup disk is not available”
This means the Mac can’t reach the NAS.
Solutions:
- Check My Cloud is powered on and connected to network
- Verify you can access the NAS in Finder
- If IP changed, remove and re-add the backup disk in Time Machine
- Set a static IP for your My Cloud to prevent this
Problem: Backup Verification Fails
Time Machine occasionally verifies backups. If verification fails repeatedly:
- The backup may be corrupted
- Try running backup again
- If it continues failing, start a fresh backup:
- Remove the disk from Time Machine
- Delete the old backup from the NAS
- Add the disk again and start fresh
How to Start Fresh (Reset Time Machine)
- Open Time Machine settings
- Select your My Cloud backup disk
- Click – (minus) to remove it
- In Finder, connect to your My Cloud
- Delete the
.sparsebundlefile (your old backup) - Return to Time Machine and add the disk again
- A new backup will start
Multiple Macs Using One WD My Cloud
You can backup multiple Macs to a single WD My Cloud. Best practice is to create separate shares for each Mac.
Setup for Multiple Macs
- Create a share for each Mac:
- TimeMachine-MacBook
- TimeMachine-iMac
- TimeMachine-MacMini
- Set appropriate quotas for each share
- Enable Time Machine on each share
- Configure each Mac to use its designated share
This prevents one Mac’s backup from consuming space needed by others.
Frequently Asked Questions
No. WD My Cloud Home and Home Duo do not support Time Machine. They use a simplified architecture without traditional NAS features. For Time Machine support, you need an EX2 Ultra, PR2100, PR4100, or other My Cloud OS 5 device.
Time Machine needs 2-4 times your Mac’s used storage for adequate backup history. A 500GB Mac should have 1-2TB allocated for Time Machine. This allows keeping hourly, daily, and weekly backups for extended periods.
Yes, but Ethernet is much faster. Wi-Fi backups work well for incremental backups (small daily changes) but the initial full backup can take days over Wi-Fi. For the first backup, connect via Ethernet if possible, then switch to Wi-Fi for ongoing backups.
Yes, absolutely. Encryption protects your data if someone accesses your NAS or if the NAS is stolen. The performance impact is minimal on modern Macs. Always enable encryption for backups containing sensitive data.
Only via VPN. Time Machine requires local network access and won’t work through the My Cloud app or web portal. Set up a VPN connection to your home network, and Time Machine will see your My Cloud as if you’re on the local network. Note that remote backups over VPN are slow due to upload speeds.
Common causes: Wi-Fi instead of Ethernet (use wired), NAS busy with other tasks (check dashboard), many small files (normal, unavoidable), or SMB1 protocol (enable SMB3 on NAS). The first backup is always slow; subsequent incremental backups are much faster.
Summary
| Step | Action |
|---|---|
| 1 | Enable Time Machine on WD My Cloud dashboard |
| 2 | Create dedicated share with quota (recommended) |
| 3 | Add backup disk in Mac’s Time Machine settings |
| 4 | Enable encryption (recommended) |
| 5 | Configure exclusions for large/unnecessary files |
| 6 | Run first backup (use Ethernet for speed) |
| 7 | Verify backups work by restoring a test file |
Time Machine to WD My Cloud provides convenient, automatic Mac backups without plugging in cables. Once configured, it works invisibly in the background, protecting your data every hour.
Related Resources
- WD My Cloud Complete Backup Guide — All backup methods
- WD My Cloud Mac Setup Guide — General Mac configuration
- WD My Cloud Setup Guide — Initial NAS configuration
- WD My Cloud Slow Performance Fixes — Speed optimization
- WD My Cloud EX2 Ultra Review — Time Machine compatible NAS
- WD My Cloud PR2100 Review — Performance NAS option
- Best WD My Cloud 2026 — Buying guide
Last Updated: February 2026